Mom’s Homemade Bread
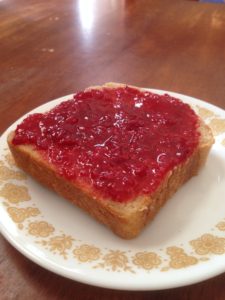
The summer sun beat upon my shoulders as my barefoot feet skipped along the hot sidewalk. Sticky jam clung to the thick slice of homemade bread smeared with peanut butter. Apricot was my favorite. Something about peanut butter and apricot jam makes a perfect sandwich. My mom always had homemade bread for us. It was our go to snack. If you ask her now, she would say it was what we could afford. But the memory of that summer day and that perfect sandwich still bring a smile to my face.
About fifteen years ago I asked my mom to teach me her bread recipe. I wanted to pass the yummy goodness on to my family. It wasn’t written down anywhere, just in her head from years of making it. She started making bread early in her teens to help her mom feed their large family. She fussed that she didn’t have a recipe, she just did it by feel. I finally convinced her to come make bread at my house. I would watch her and write down a recipe from what she did. She agreed.
The day came. I had all the ingredients and measuring utensils ready for her. She began the process and I was meticulously taking notes and counting cups of flour. Suddenly, without warning Mom grabbed a cereal bowl and started scooping flour into the mixing bowl with that instead of the measuring cup. I let out a frustrated wail. “It was taking too long to measure,” was her defensive reply. Grrr!
I was new enough to bread making and unsure about how to do it by “feel” that I was at a loss. I made my best guess of what the measurements might be. Then I tucked that recipe in my recipe box and there it sat. In the fifteen or so years since then, I have become much more comfortable with making bread. I can now do it by feel. It started when my husband bought me a bread machine and I played with that for a while. Then my mother in law taught me her white bread recipe, written out with careful measurement and a demonstration of the process.
This year I finally got brave enough to try to duplicate Mom’s recipe. I pulled out the rough notes and gave it a go. It took a little tweaking, and I took notes of what I did. When it was done, it was delicious. So, I want to share it with you. If you are new to making bread and don’t have the feel for it yet, don’t worry. The only way to get that is to make a bunch of bread. And I promise not to pull out a cereal bowl.
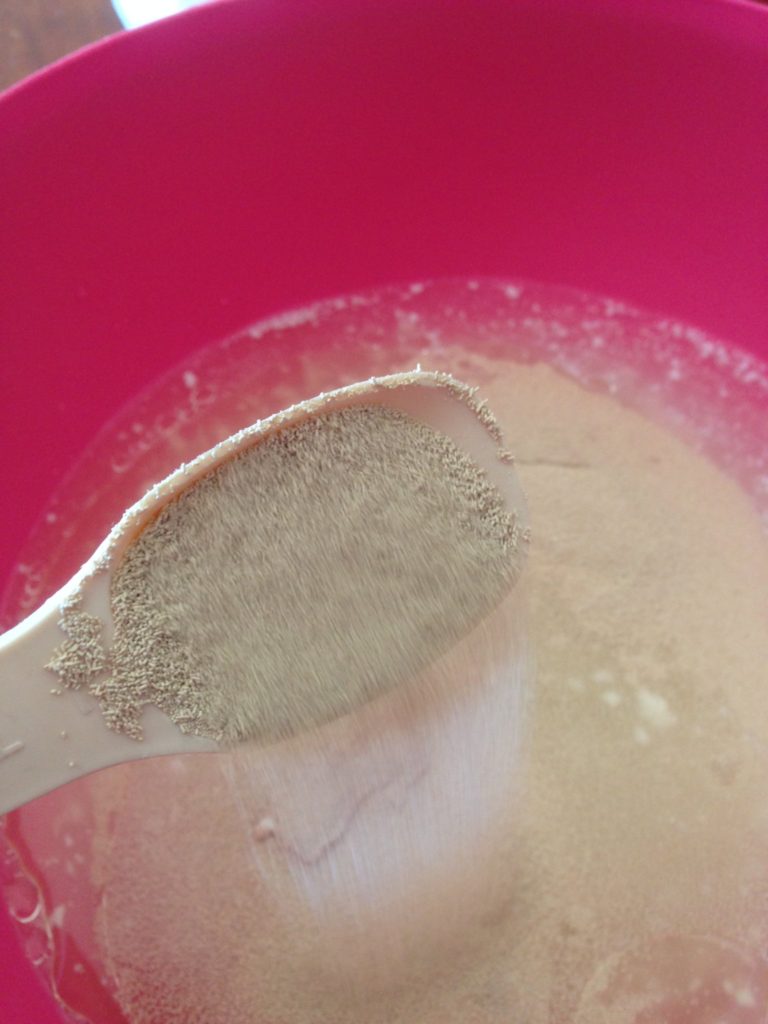
Grease 6-8 loaf pans and set aside. In a 8 quart bowl, or larger- my mom always used the turkey roaster pan, combine the water, salt, sugar, oil and yeast. Stir to combine. Your yeast should start bubbling after just a bit and looking foamy.
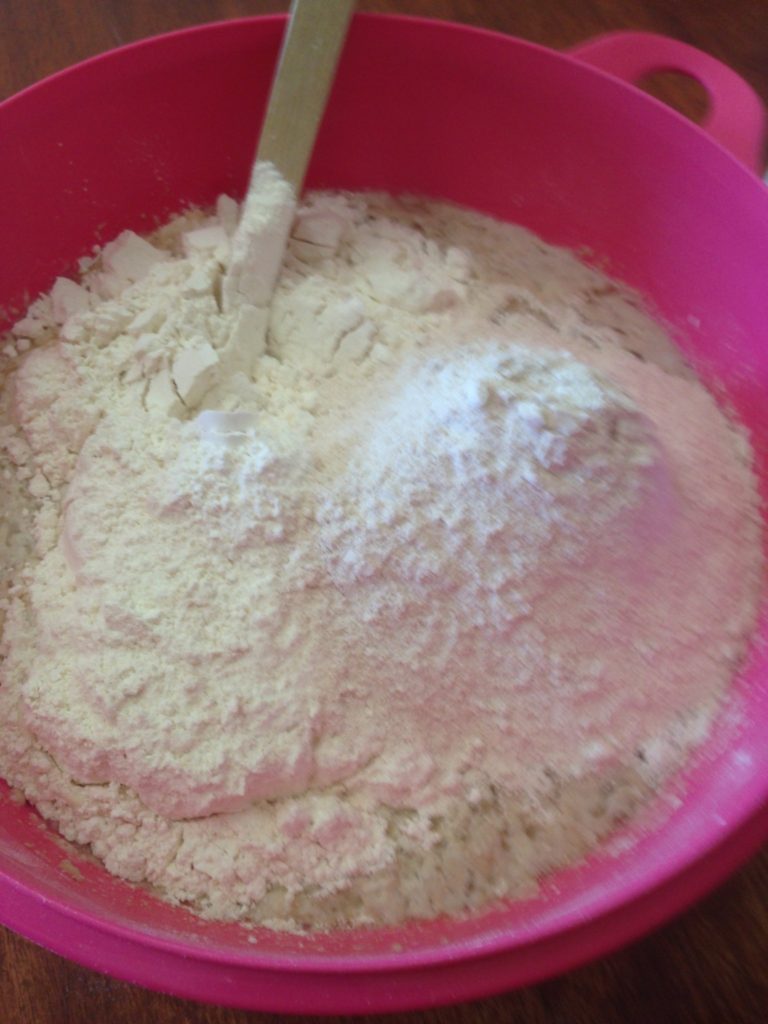
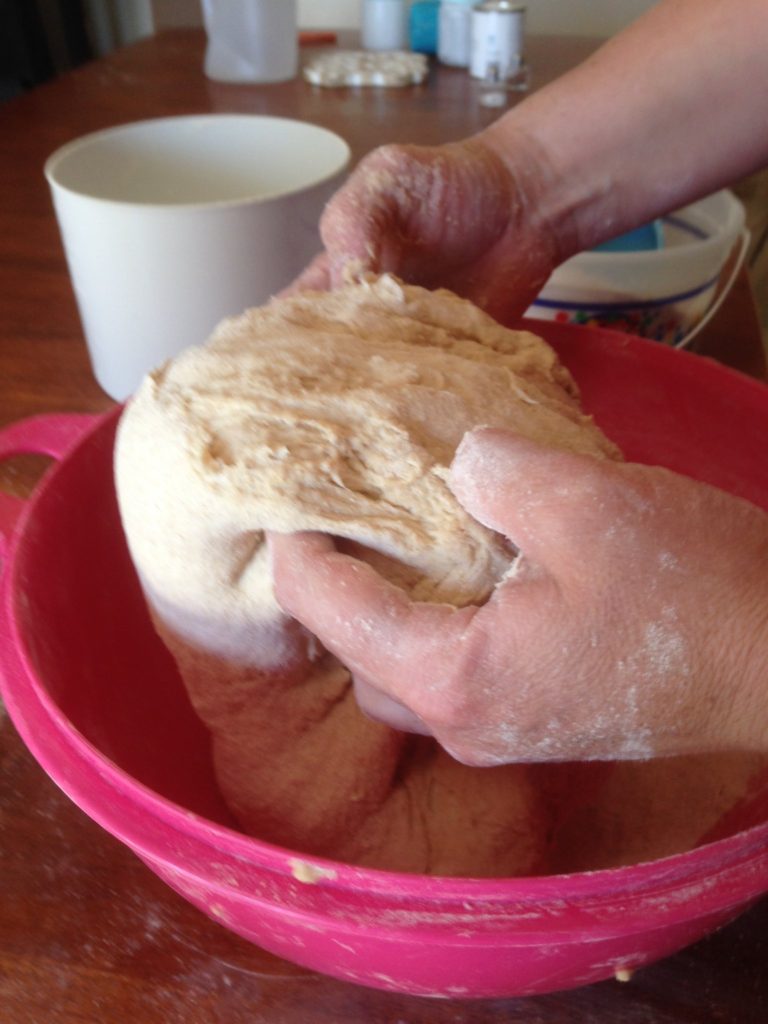
Stir in the rest of the ingredients until the mixture becomes too thick to stir. With clean hands knead the dough until all the ingredients are incorporated and the dough pulls cleanly away from the side of the bowl. It will be sticky at first but as all the flour gets incorporated, it will become less sticky. Add additional flour if you need to. A little sticky is okay but you want it to be mostly firm.
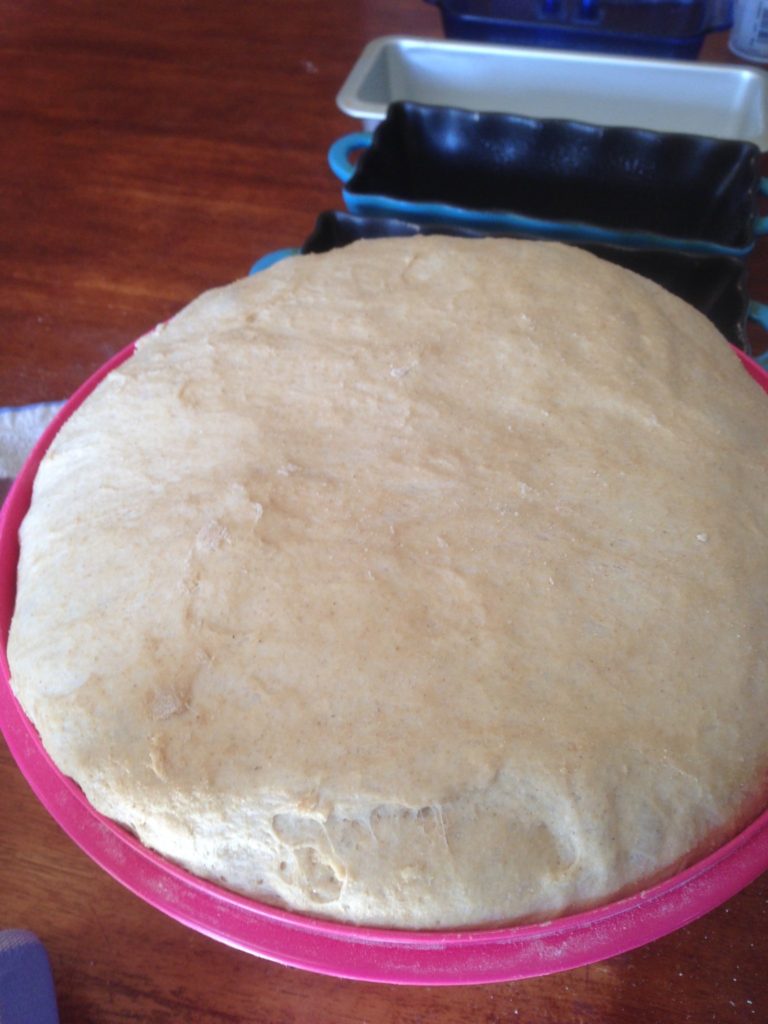
When the dough is well kneaded, cover and set in a warm location to rise.
When the dough has doubled in size, punch it down, meaning push all the air out of the dough. Cover and let it rise again. Preheat oven to 350 degrees.
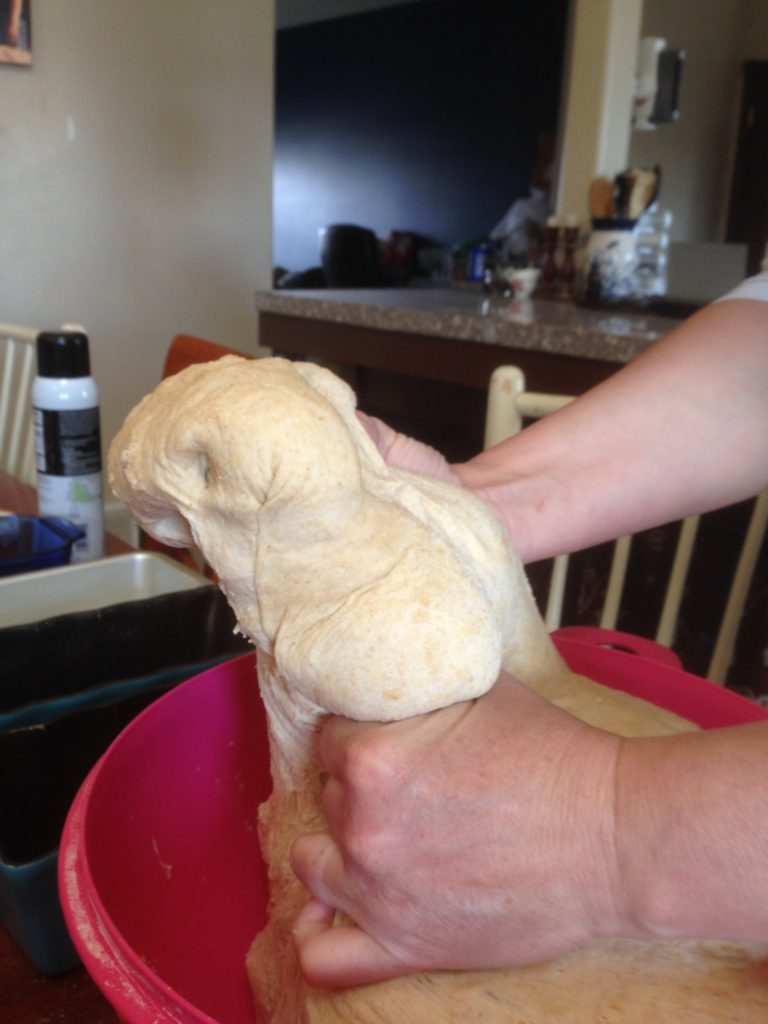
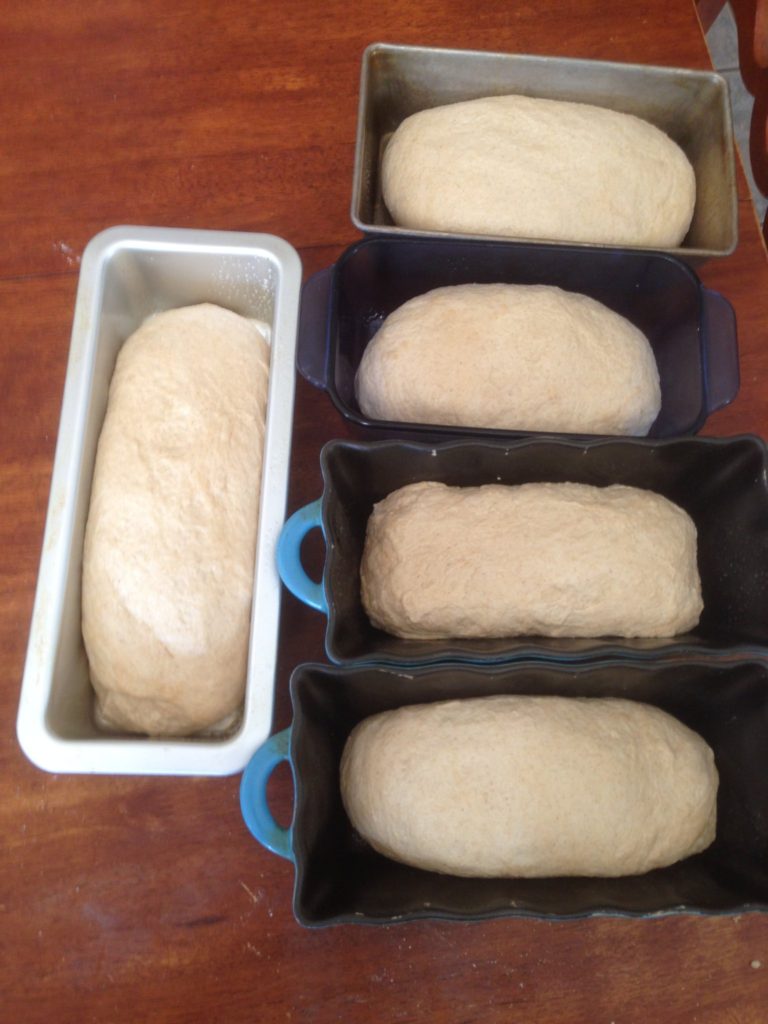
When your dough has doubled in size again, squeeze off piece of dough, knead it and shape it to the size of your loaf pan. Slap the top of the dough a few times to rid it of any large air bubbles and place it in your greased pans. You want the dough to reach almost half way up your pan. Any higher and it may overflow or be a top heavy loaf, less and you will have a very short loaf of bread.
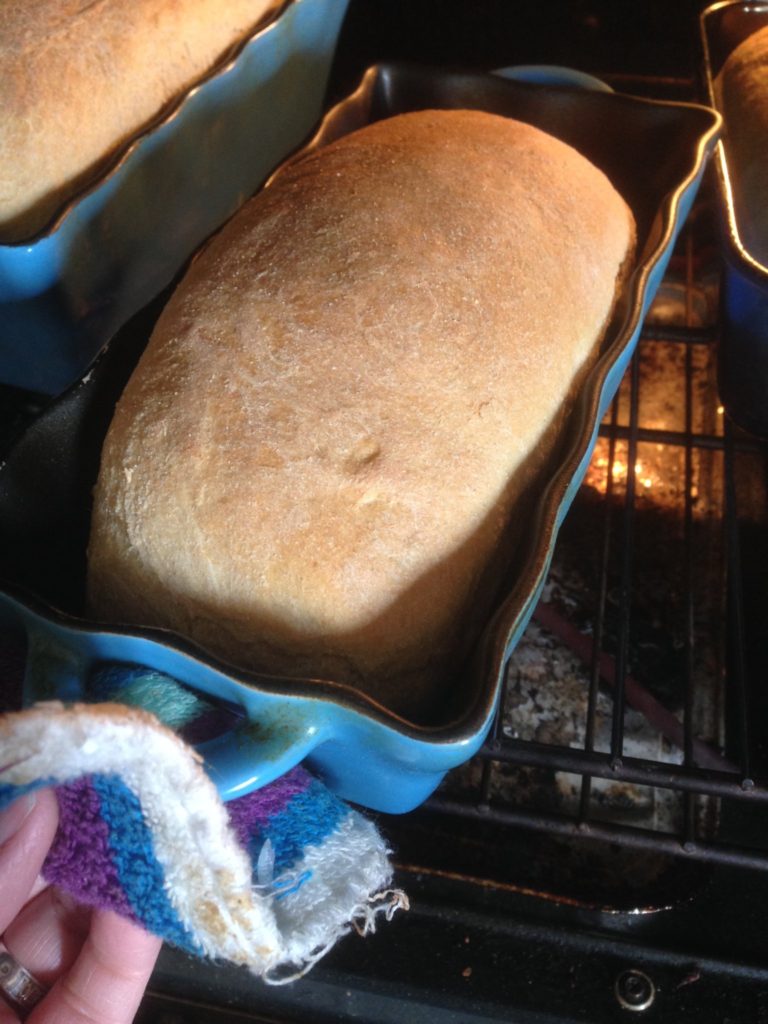
Once in the pan, cover and let your bread rise again. Let the loafs rise almost to the top of the pan. Once they reach that point, place them in your preheated oven and bake 30 minutes or until a light golden brown on the top. Add additional time if needed.
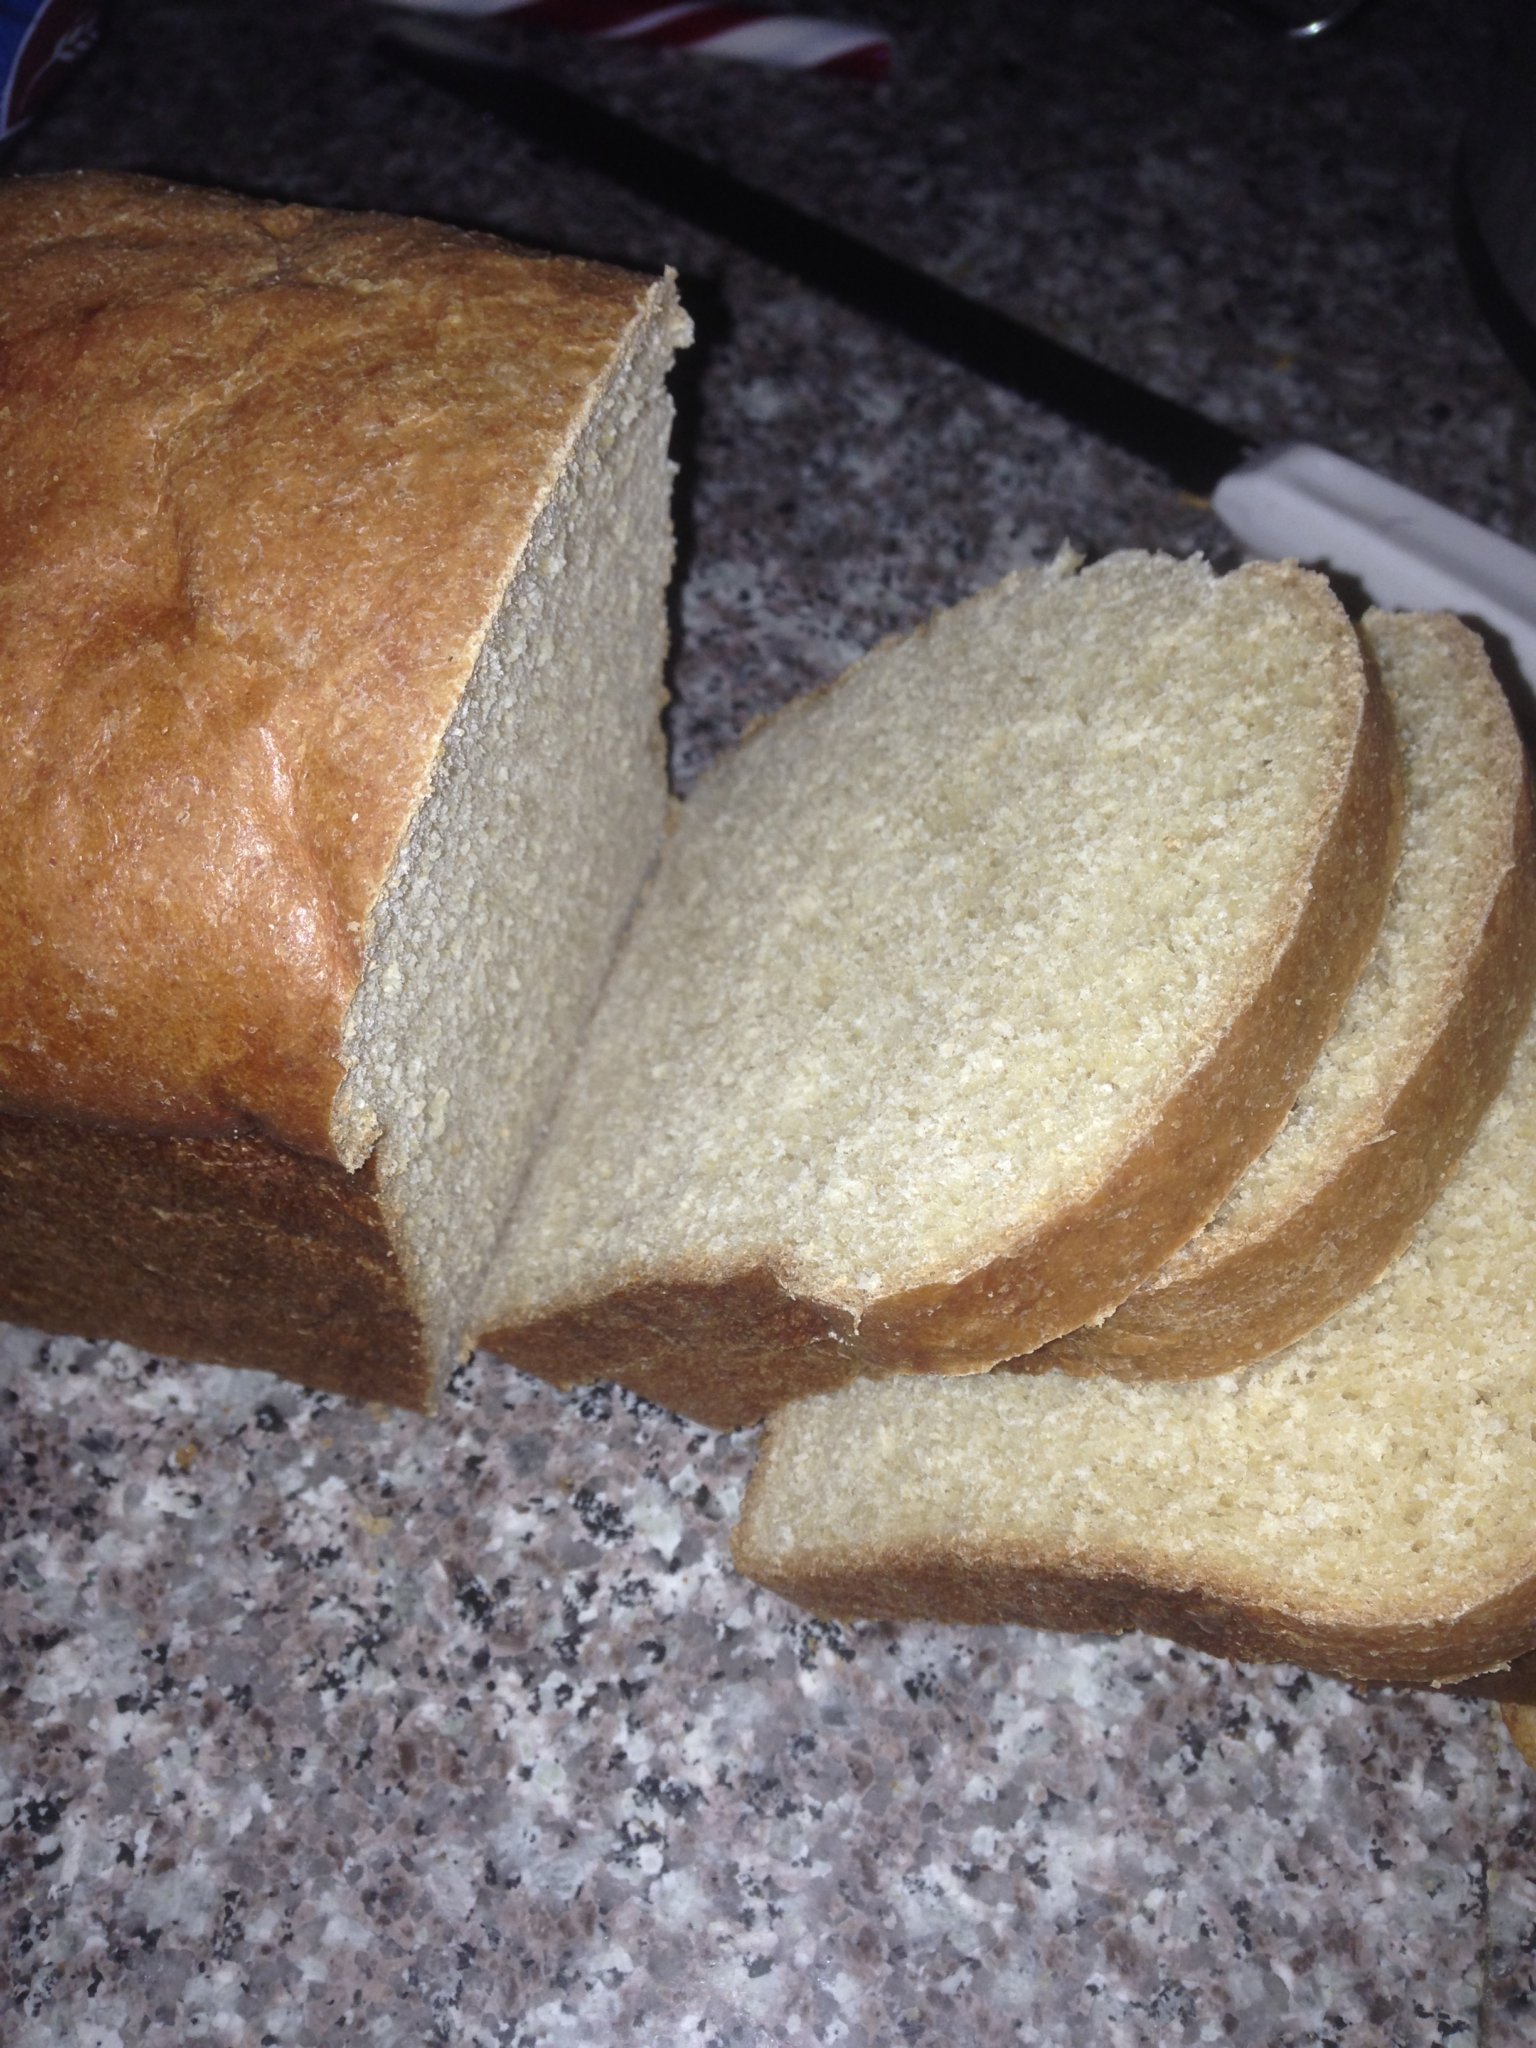
Remove from the oven and cool on a dish towel or cooling rack. It is easiest to cut fresh bread with a very sharp serrated knife. Once cool it will slice easier as well- but who can wait for that? Enjoy
This recipe is fairly forgiving. The levels of white and wheat flour can be changed to your liking. Although I have never made it with all white flour, half and half works great. Milk tends to help bread crumble less, as does gluten. It will be fine without both but you may get more crumbs. The size of loaf you make will determine exactly how many loafs this recipe makes. I have a variety of size but it makes about six 4 x 8 loafs. Rise time will be affected by the temperature. If it is colder, it will take longer.

Ingredients
Directions
Grease 6-8 loaf pans and set aside. In a 8 quart bowl, or larger- my mom always used the turkey roaster pan, combine the water, salt, sugar, oil and yeast. Stir to combine. Your yeast should start bubbling after just a bit and looking foamy.
Stir in the rest of the ingredients until the mixture becomes too thick to stir. With clean hands knead the dough until all the ingredients are incorporated and the dough pulls cleanly away from the side of the bowl. It will be sticky at first but as all the flour gets incorporated, it will become less sticky. Add additional flour if you need to. A little sticky is okay but you want it to be mostly firm.
When the dough is well kneaded, cover and set in a warm location to rise.
When the dough has doubled in size, punch it down, meaning push all the air out of the dough. Cover and let it rise again. Preheat oven to 350 degrees.
When your dough has doubled in size again, squeeze off piece of dough, knead it and shape it to the size of your loaf pan. Slap the top of the dough a few times to rid it of any large air bubbles and place it in your greased pans. You want the dough to reach almost half way up your pan. Any higher and it may overflow or be a top heavy loaf, less and you will have a very short loaf of bread.
Once in the pan, cover and let your bread rise again. Let the loafs rise almost to the top of the pan. Once they reach that point, place them in your preheated oven and bake 30 minutes or until a light golden brown on the top. Add additional time if needed.
Remove from the oven and cool on a dish towel or cooling rack. It is easiest to cut fresh bread with a very sharp serrated knife. Once cool it will slice easier as well- but who can wait for that? Enjoy
This recipe is fairly forgiving. The levels of white and wheat flour can be changed to your liking. Although I have never made it with all white flour, half and half works great. Milk tends to help bread crumble less, as does gluten. It will be fine without both but you may get more crumbs. The size of loaf you make will determine exactly how many loafs this recipe makes. I have a variety of size but it makes about six 4 x 8 loafs. Rise time will be affected by the temperature. If it is colder, it will take longer.
Notes